NEK.IO

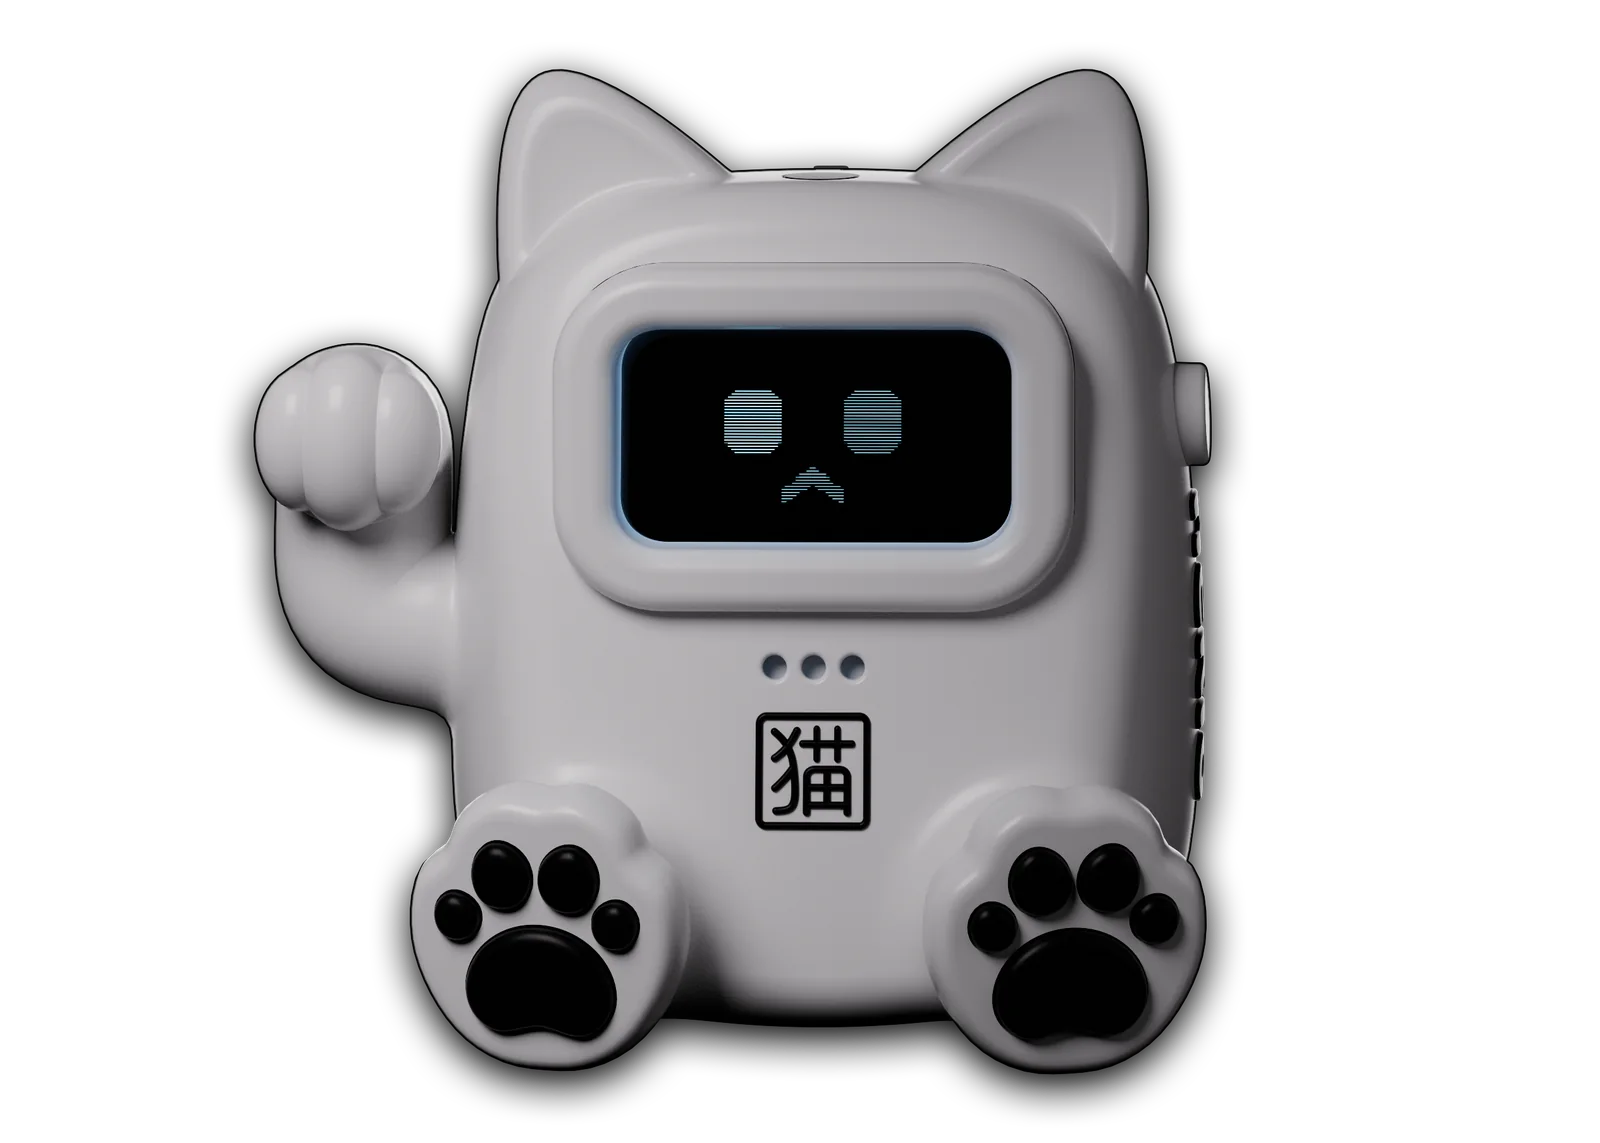
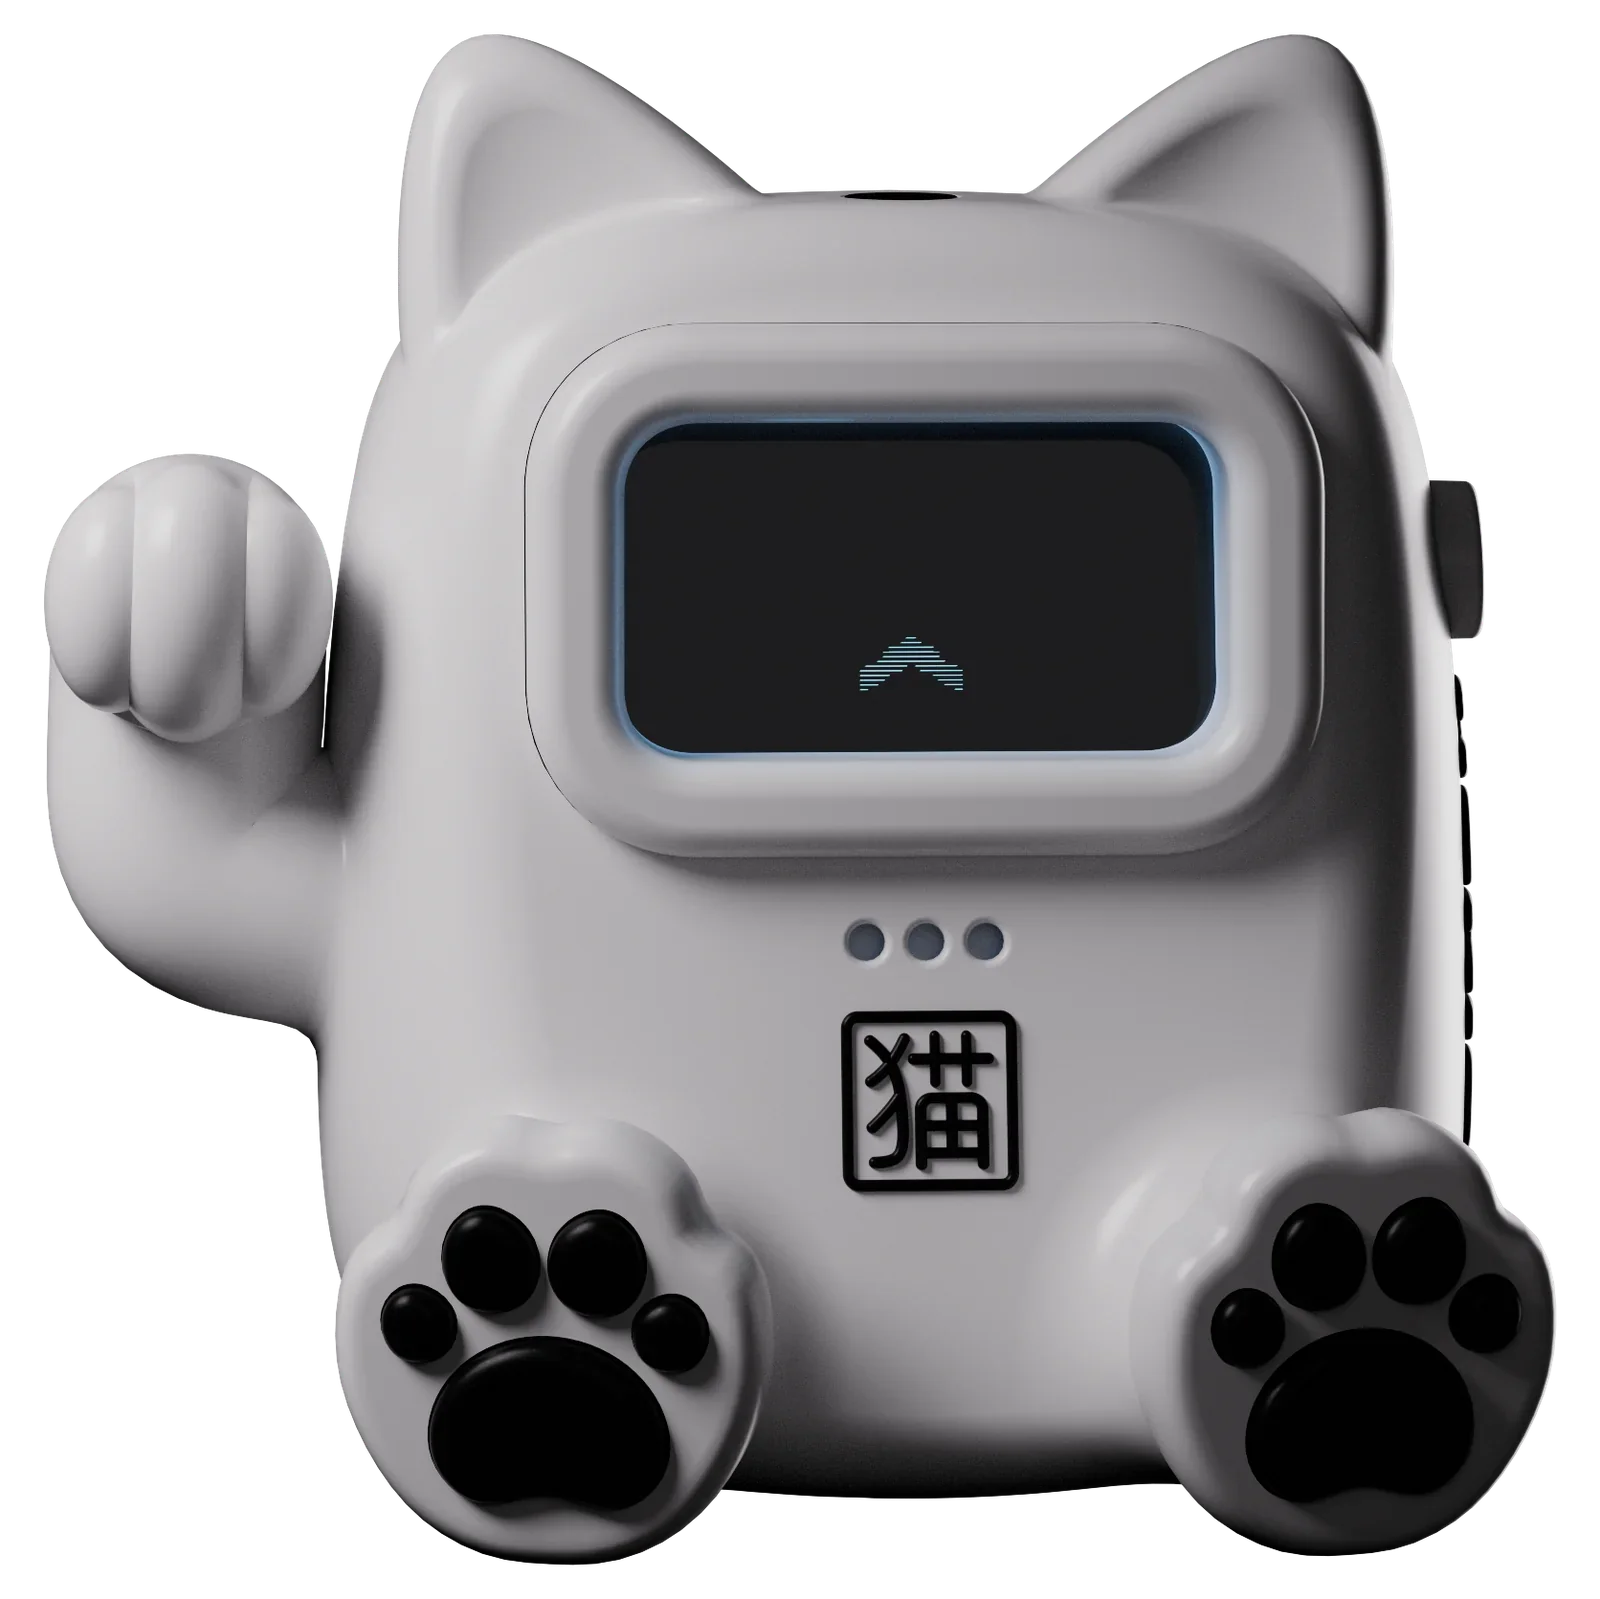
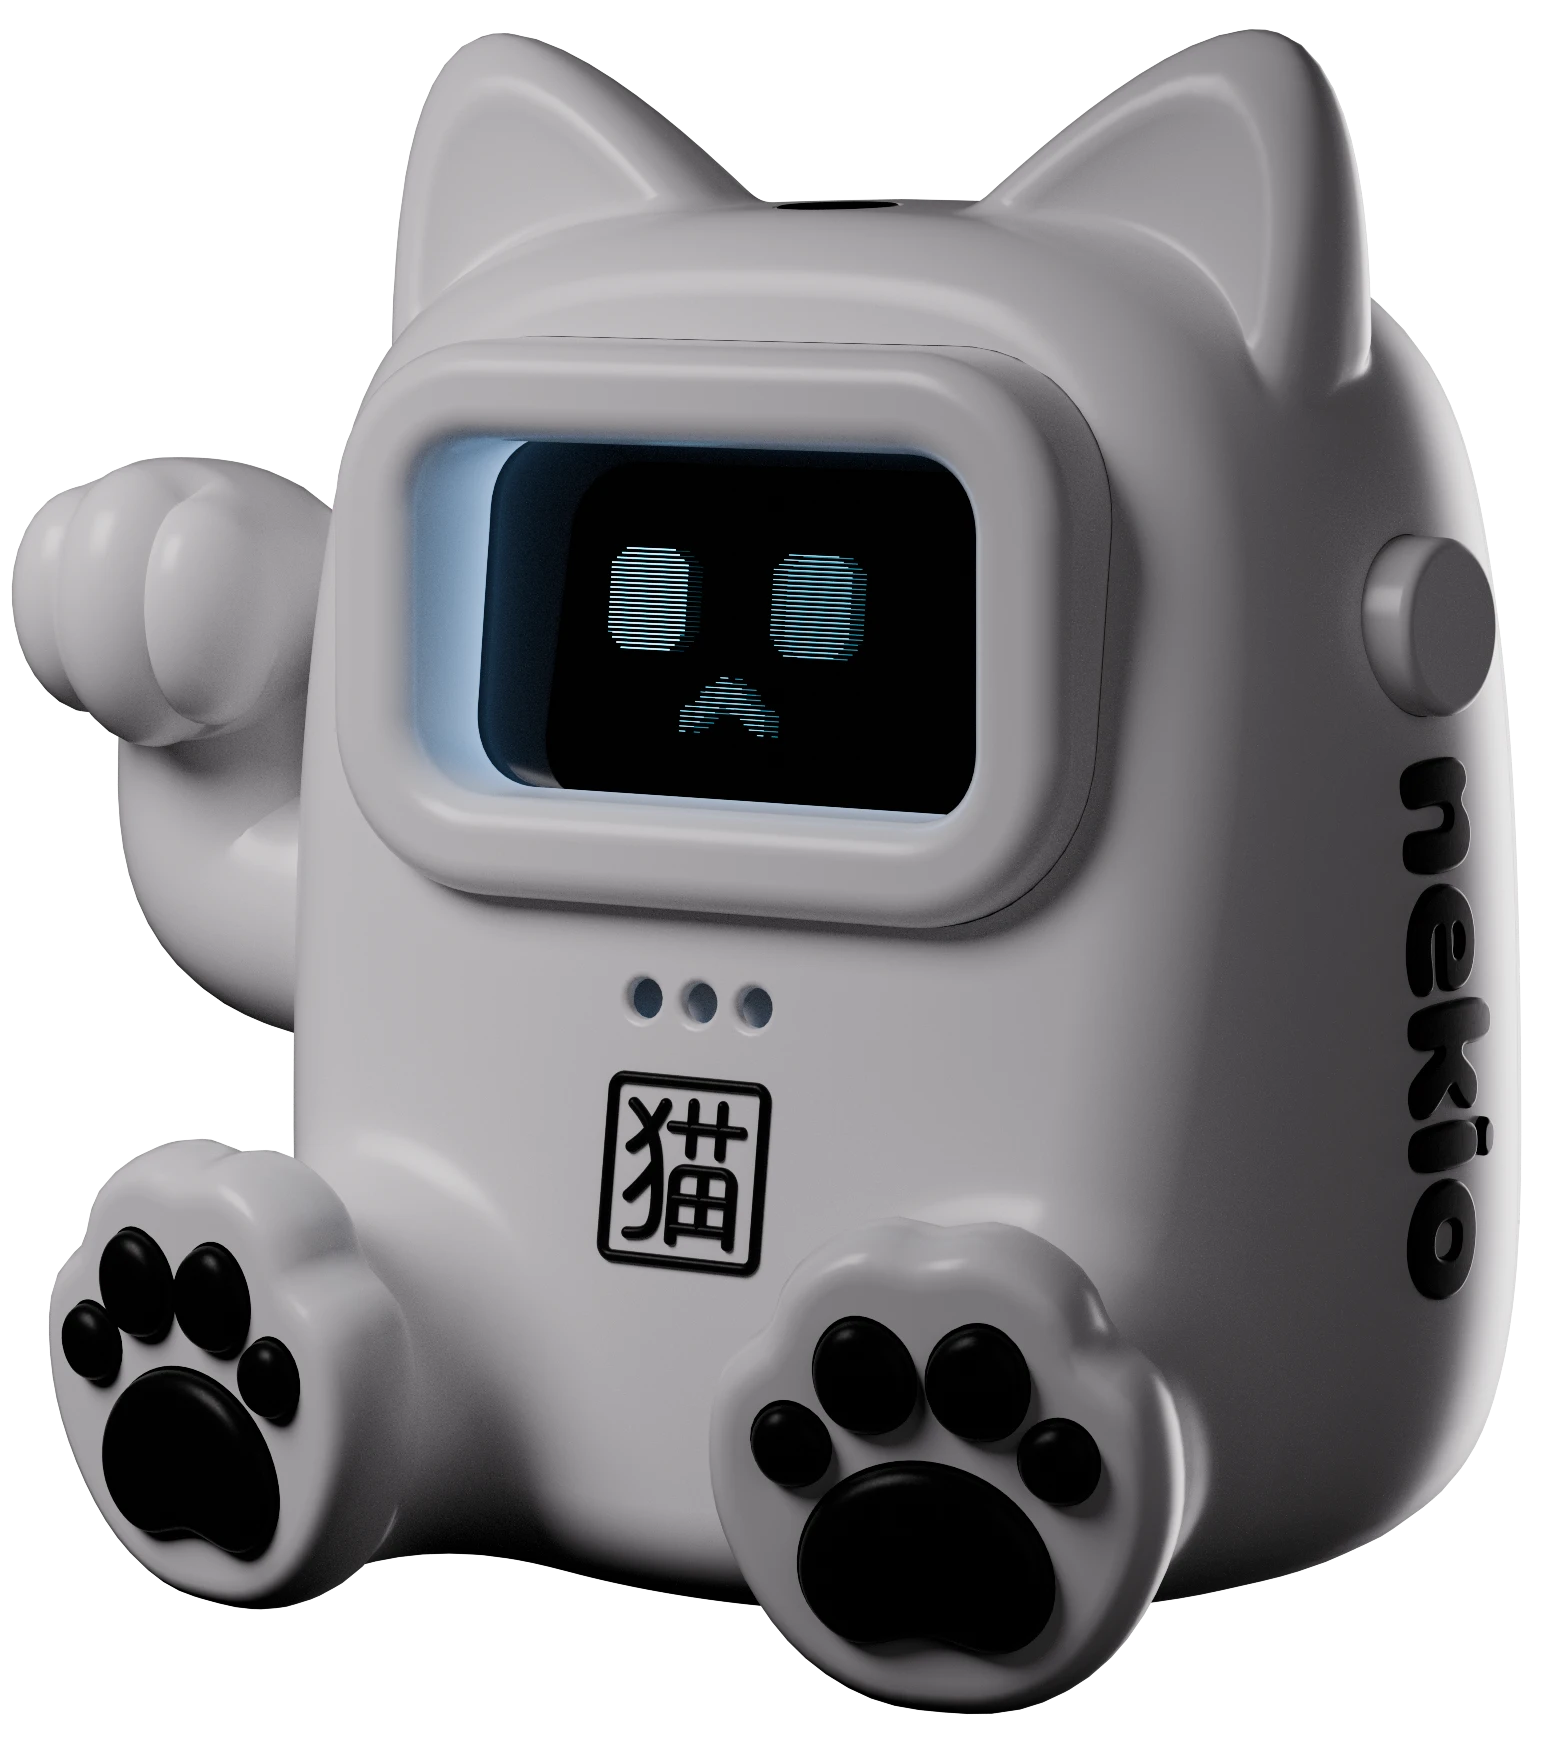
An interactive desktop companion that brings a virtual pet to life as a robotic cat. It responds to touch, light, and time alone through five animated expressions, offering companionship without the upkeep. Built over a semester, this fully functional Arduino prototype combines 3D printing, electronics, and programmed behaviors to explore how form and interaction give an object personality.

5Animated expressions
8Electronic components
33D-printed shell parts
4Interaction inputs

Overview

A companion for your desk

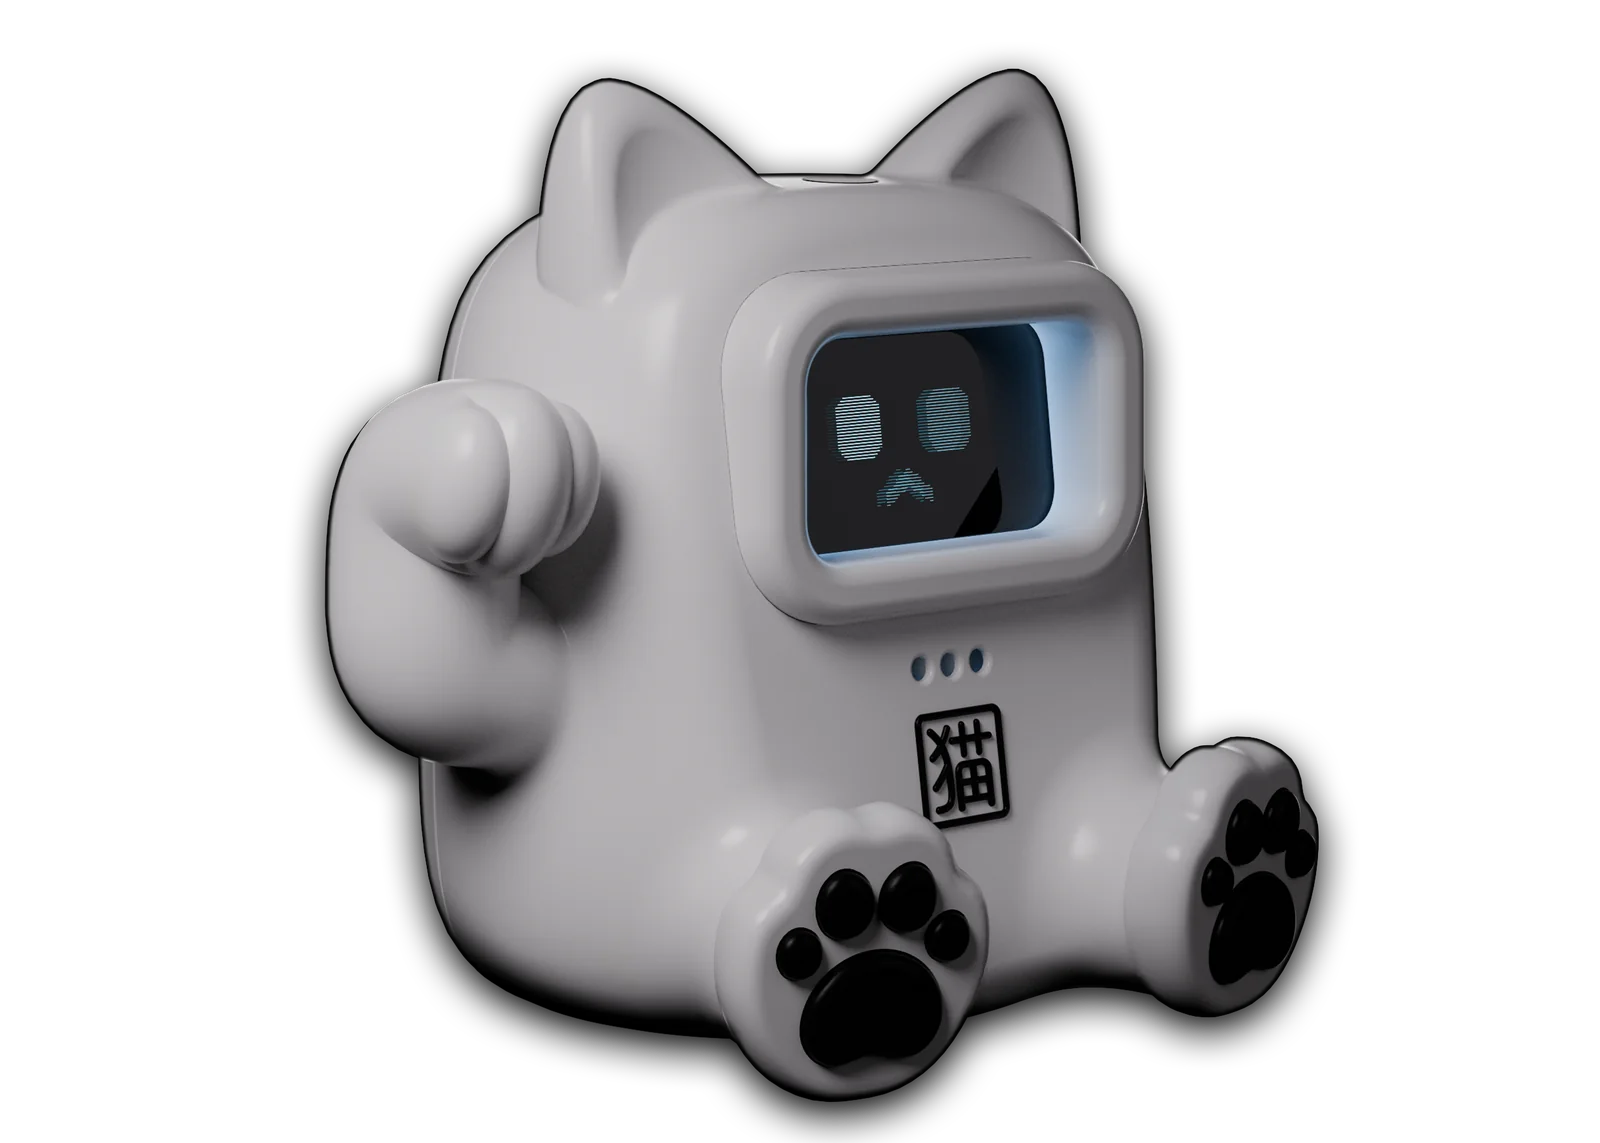
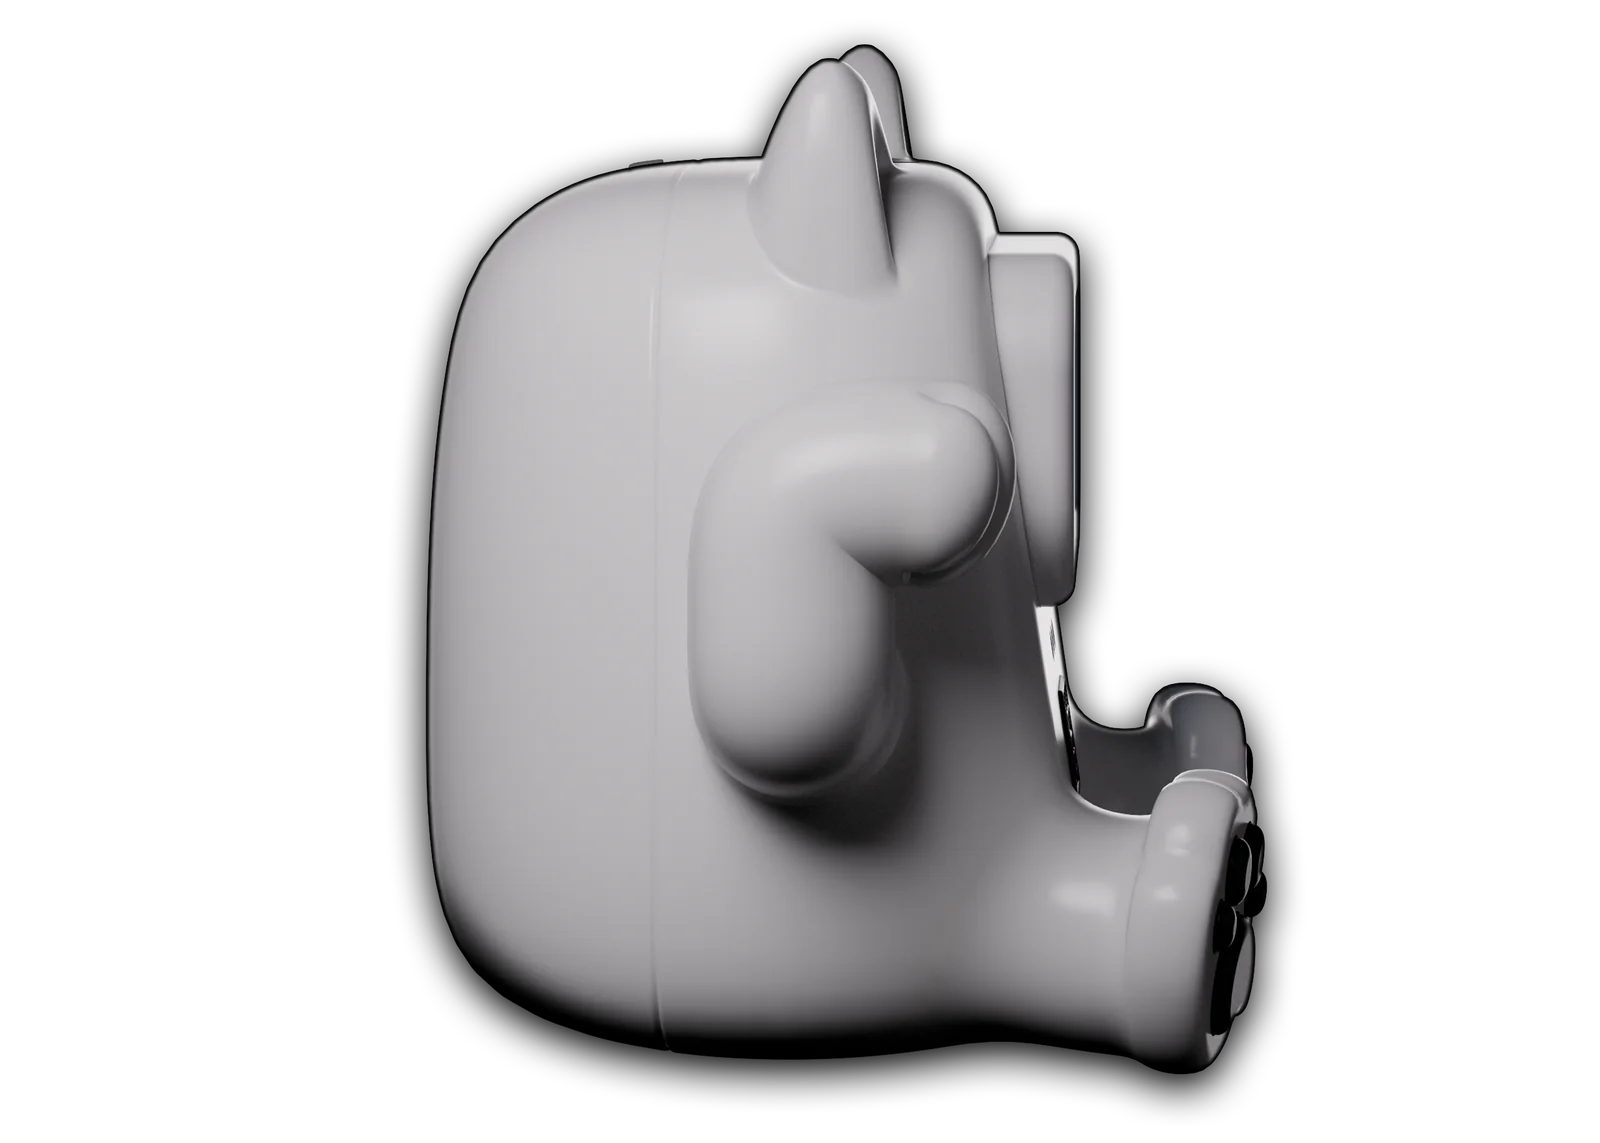
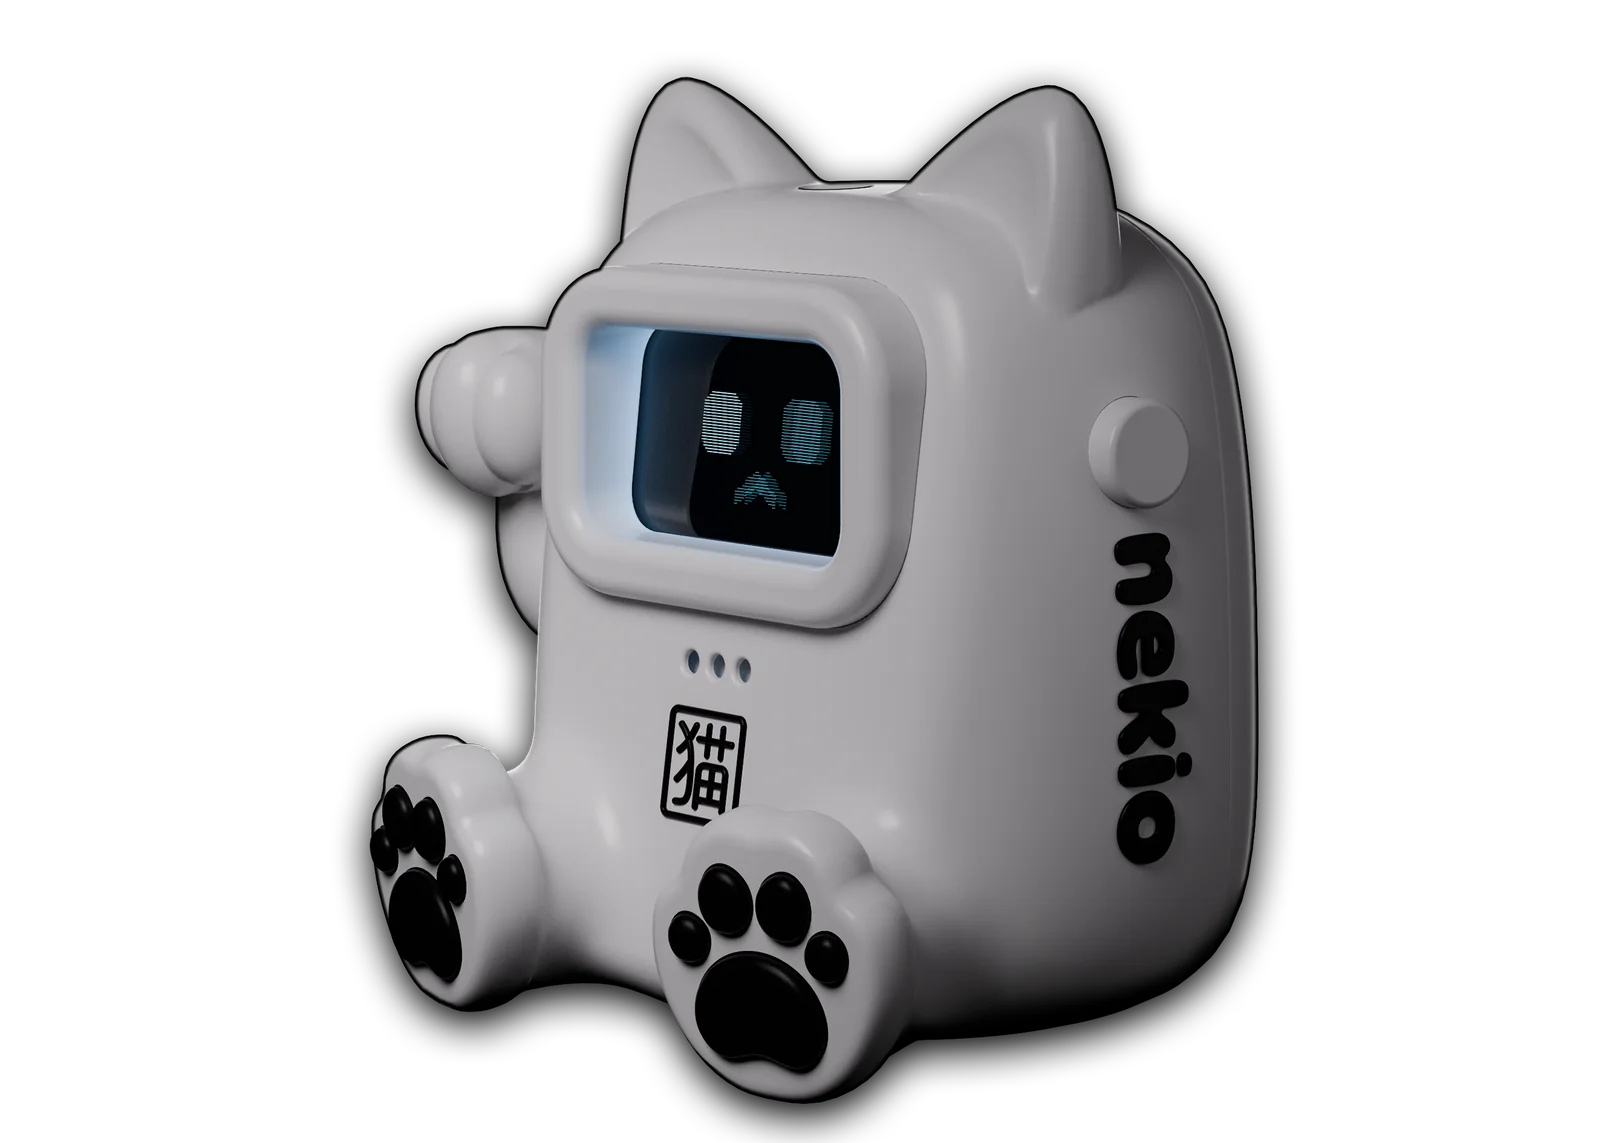
Inspired by the maneki-neko, the beckoning cat, nek.io pairs a raised paw and a rounded body with a single animated face. Virtual pets like Tamagotchi informed the concept: a quiet companion for people who spend long hours at a computer or cannot own a pet because of allergies, housing, or lifestyle.

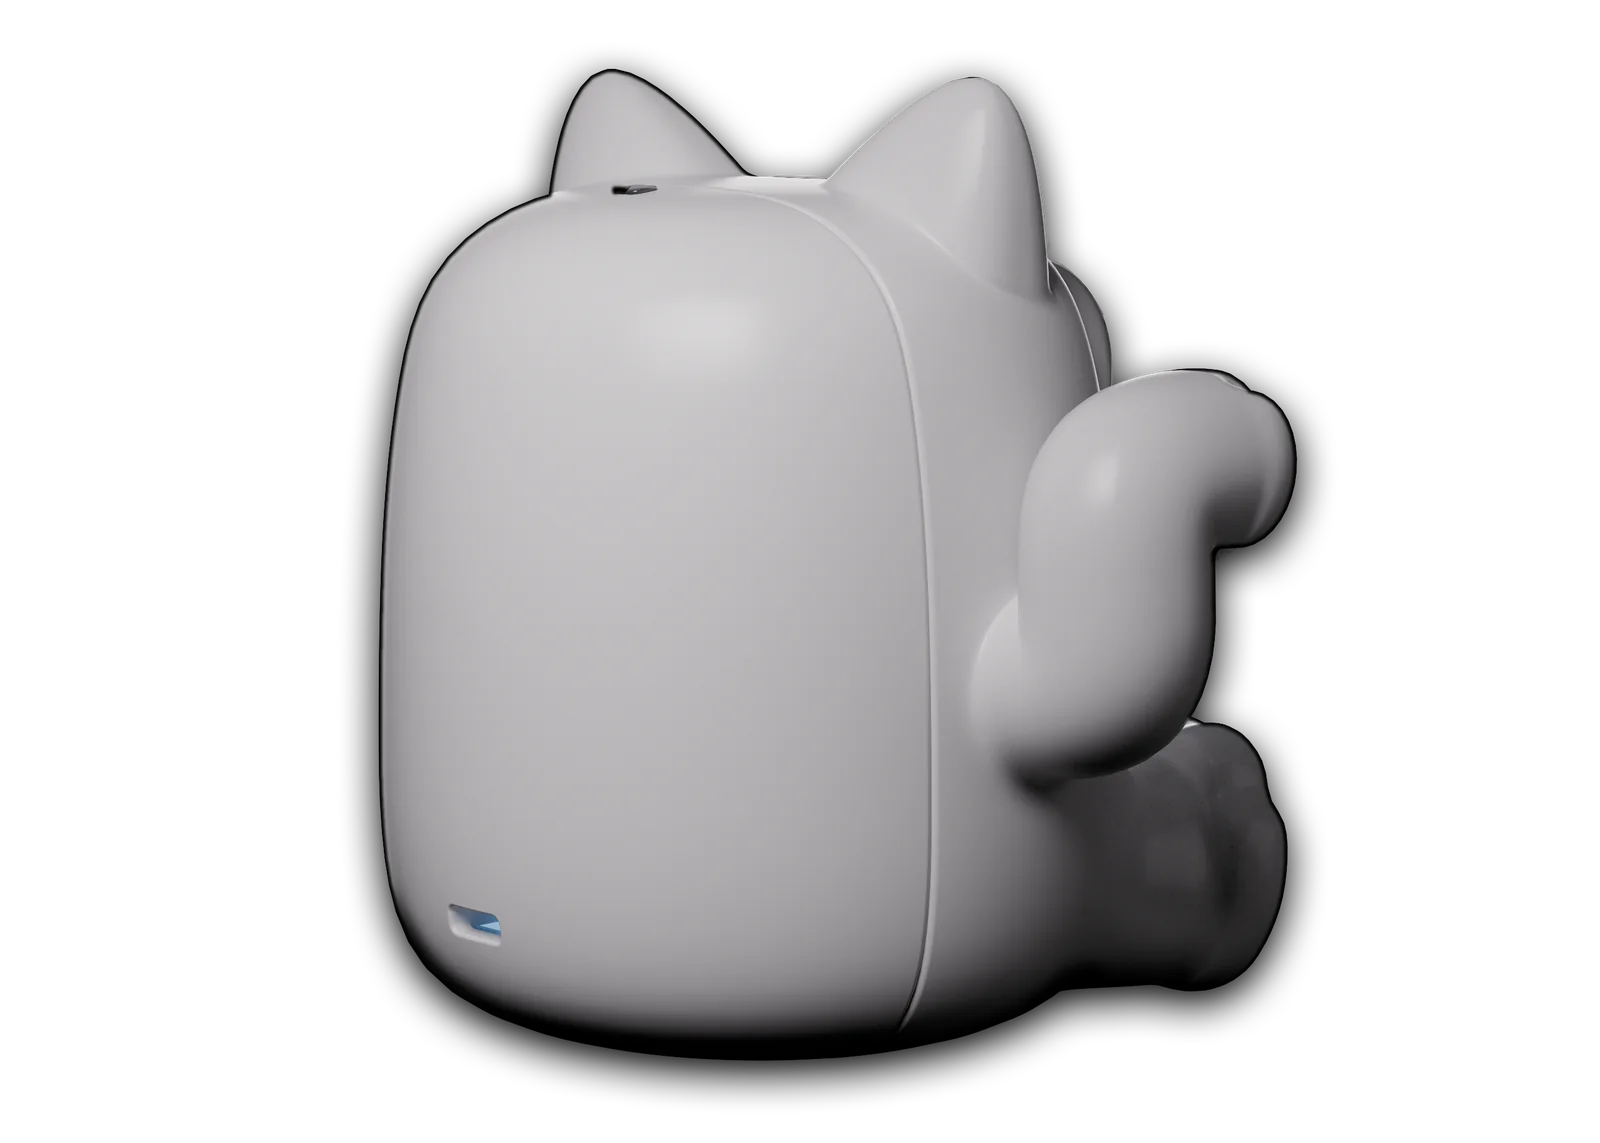
The design keeps interactions simple and contained within the object, with no menus or companion app. Its silhouette, expressions, movement, and sound give it character without demanding constant attention. Much of the work went into fitting eight components and their wiring inside a custom 3D-printed enclosure while keeping a recognizable cat form.

The project brief called for an Arduino-powered device with at least one physical or environmental interaction. I expanded that to four, starting the semester with no prior electronics experience and learning to integrate touch inputs, light sensing, an OLED display, and sound through custom Arduino programming.

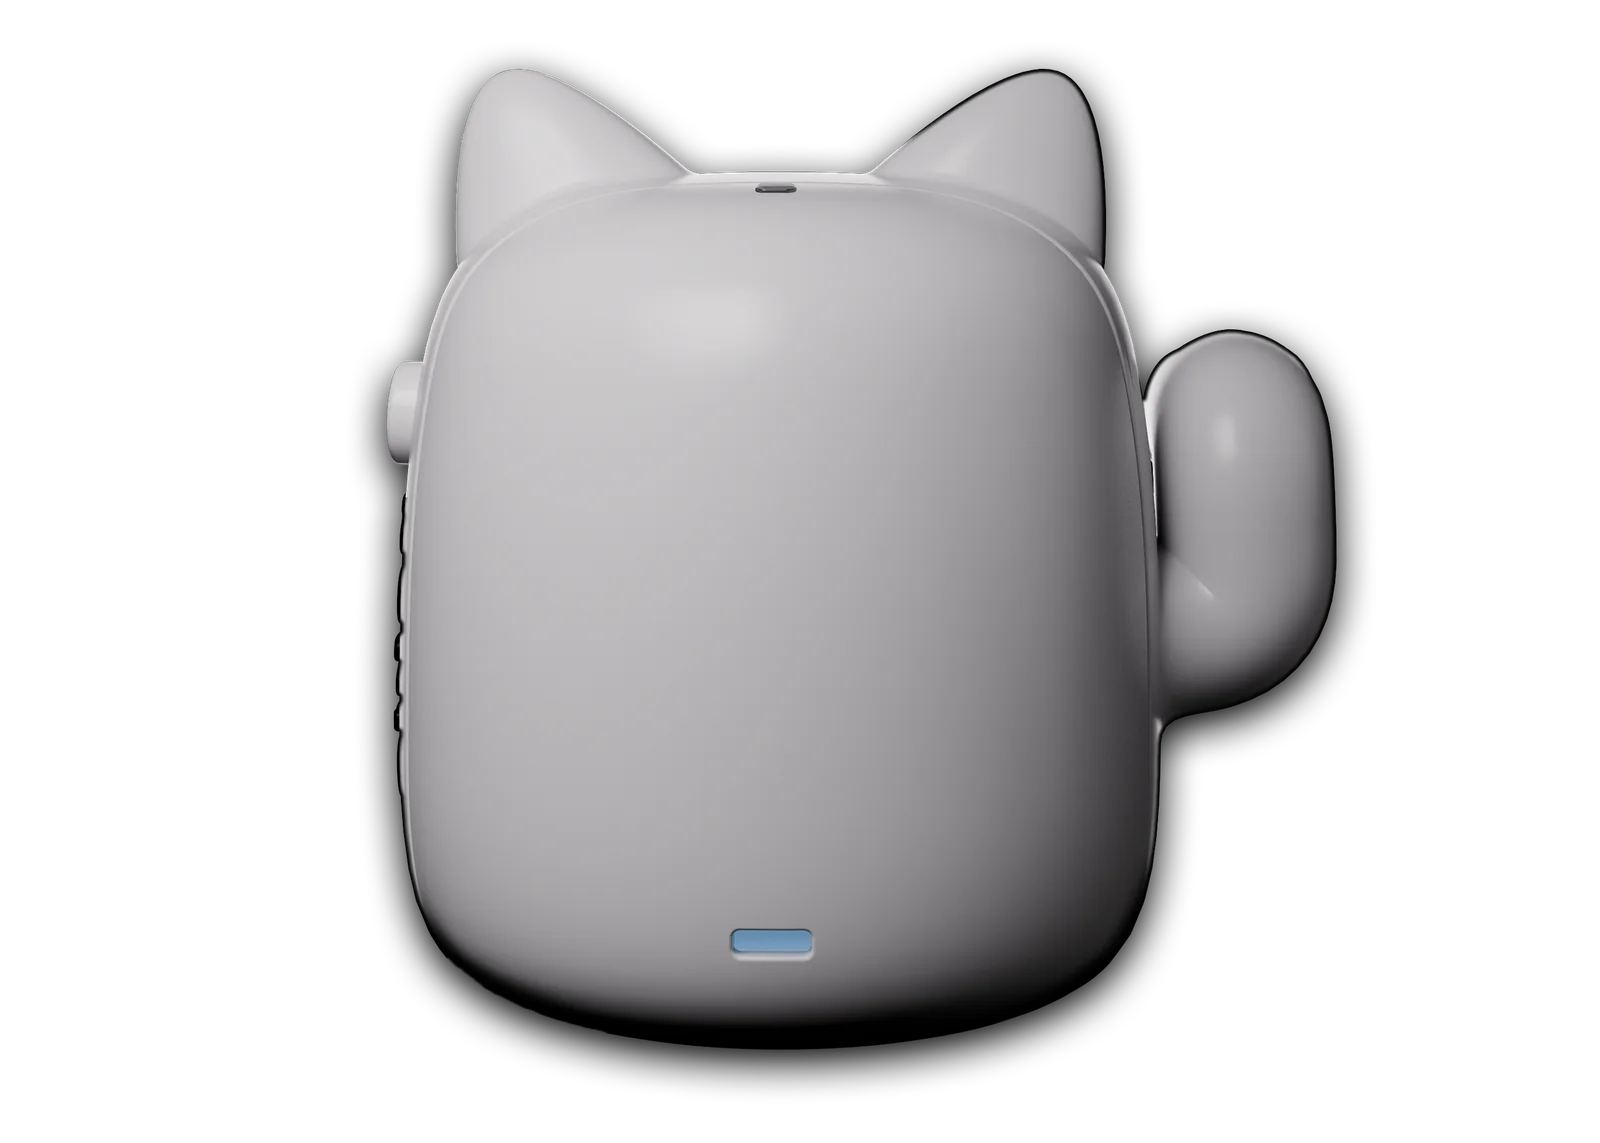
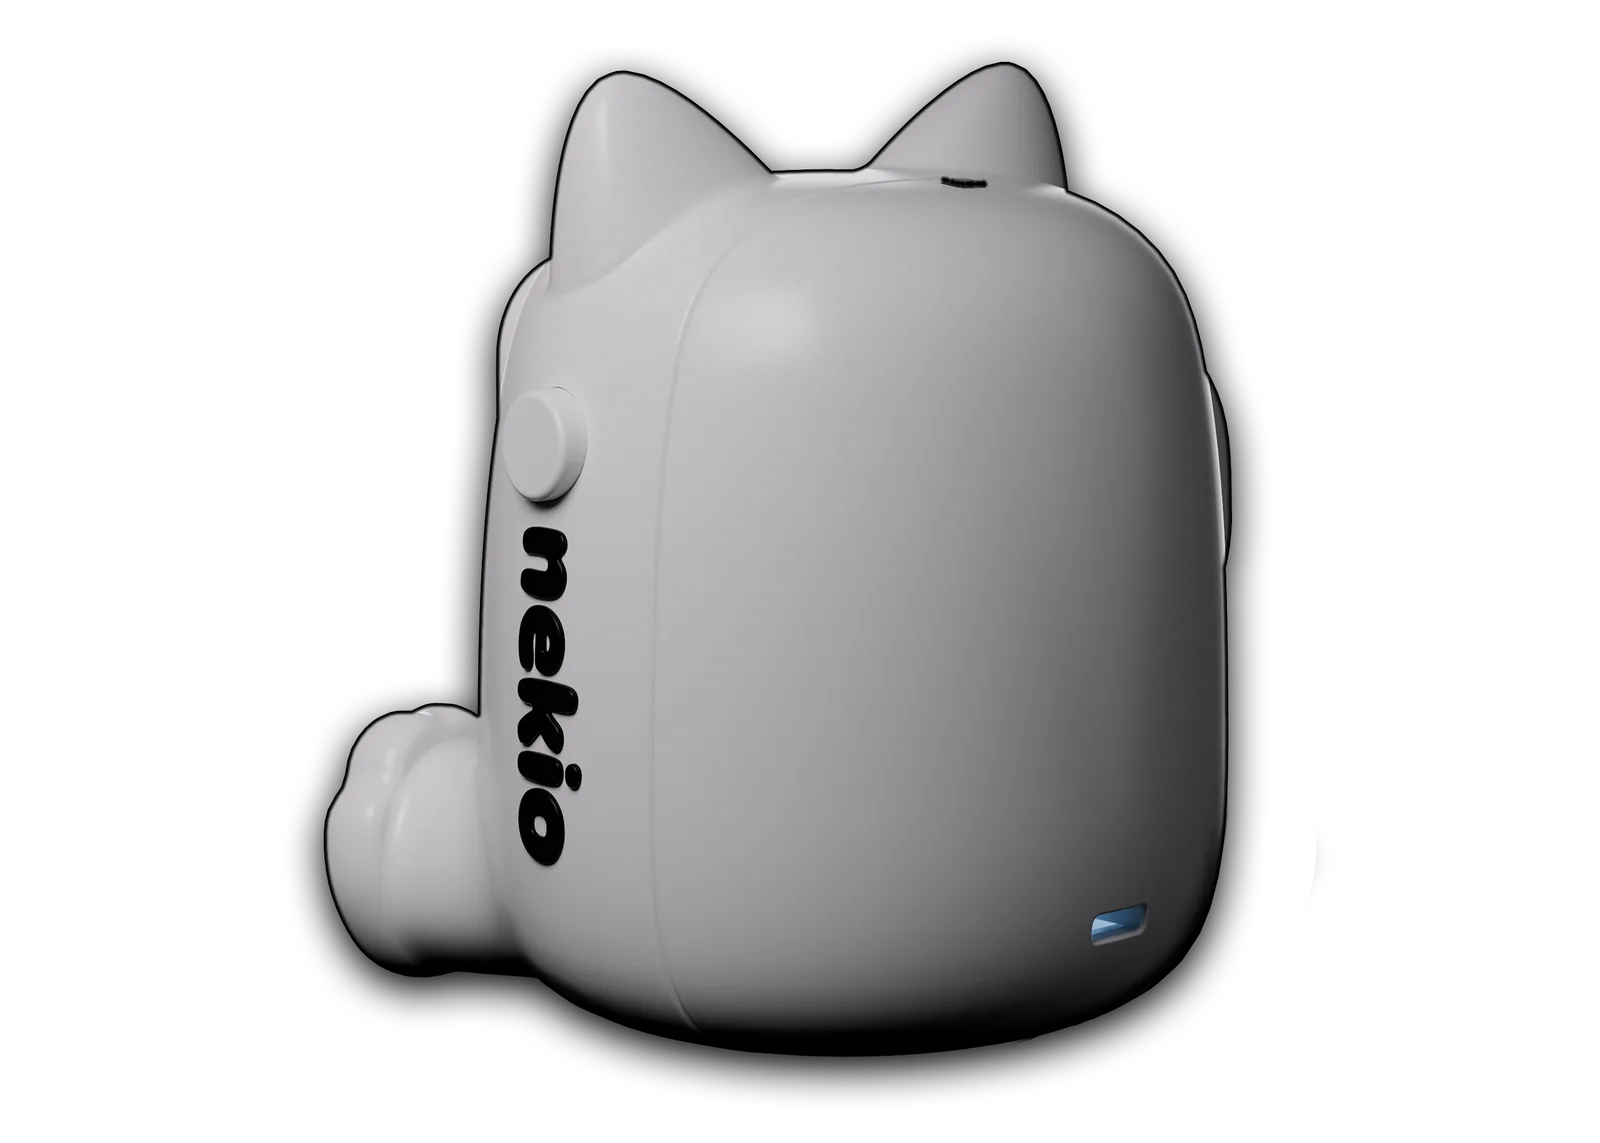
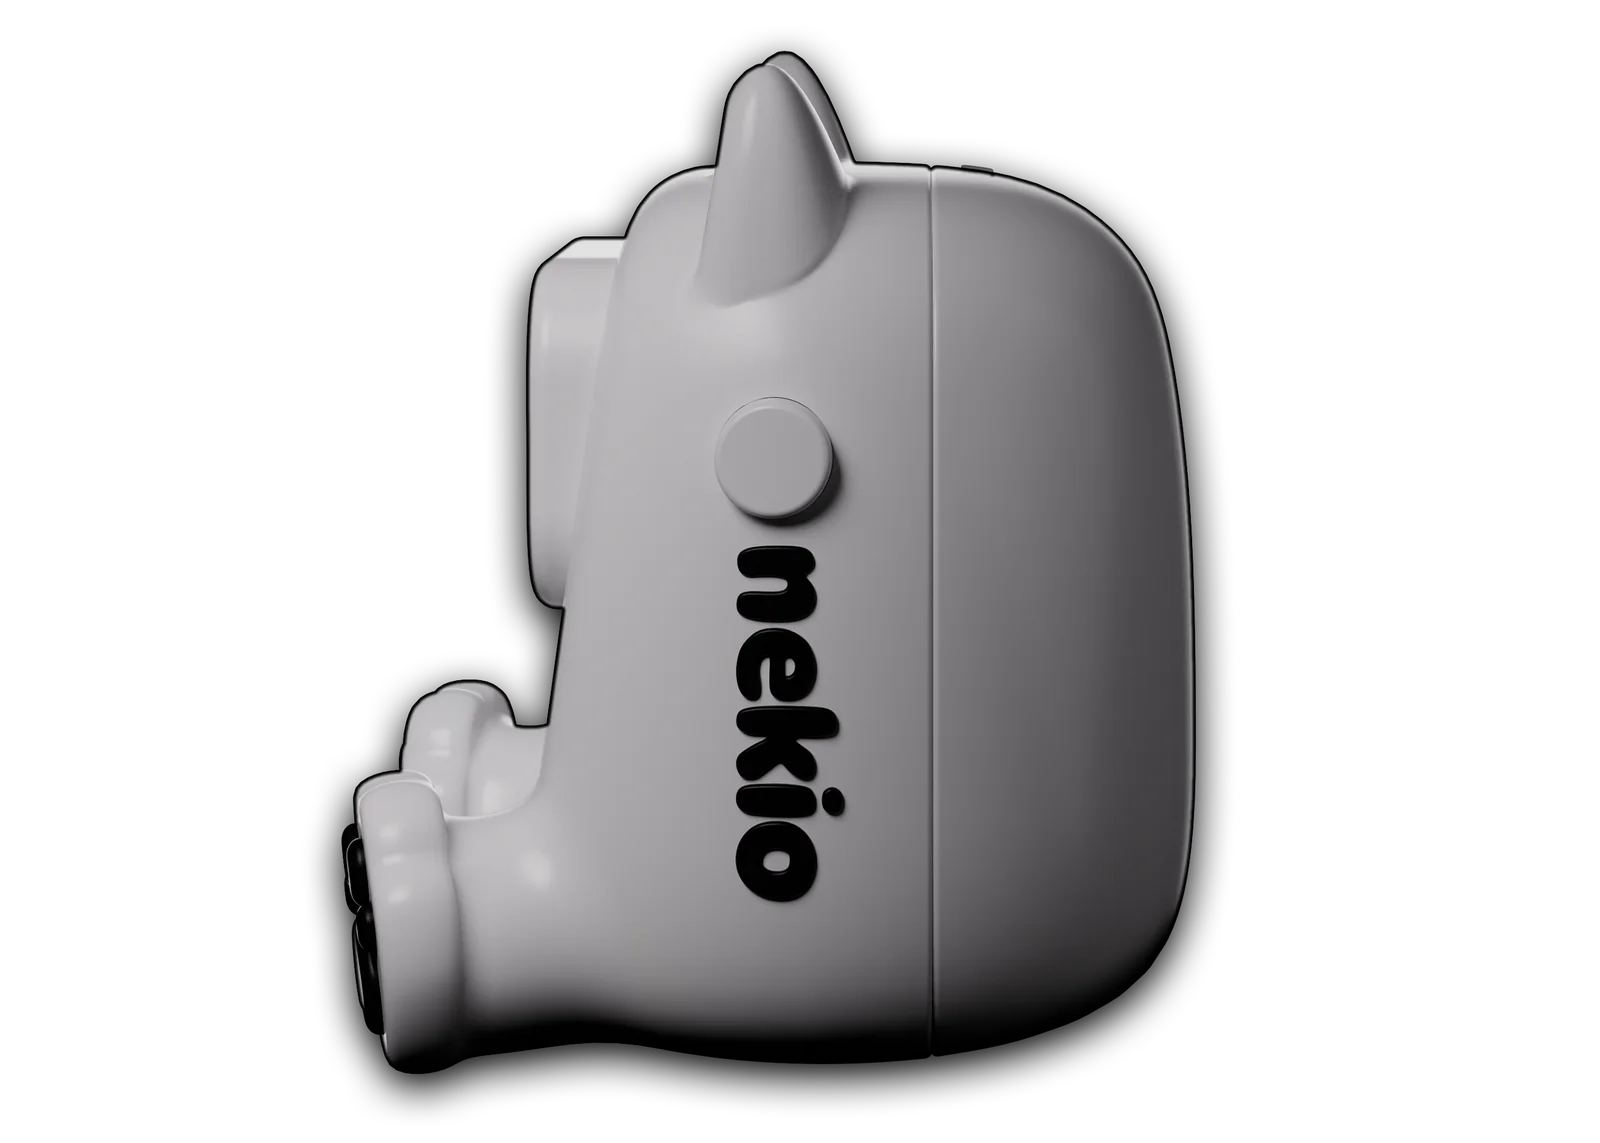
Nek.io prototype annotated with its head and paw touch points, OLED display, power button, and speaker
Tools & skills
  • Concept Development
  • Rhino 3D
  • Blender
  • 3D Printing
  • Prototyping
  • Soldering
  • Electronics
  • Arduino

Software

Five ways to say hello

Its personality comes from only a few inputs: touch, time alone, the light in the room, and the power button. Each one maps to an animated face, a matching sound, and a shift in behavior, built on a customized RoboEyes core and custom bitmap mouths drawn pixel by pixel.

  • 01

    Happy

    Pet its head

    A conductive patch on the top of its head triggers a happy face and a soft purr.

  • 02

    Angry

    Touch its paws

    The conductive paw pads make it pull an annoyed face and give a short, irritated meow.

  • 03

    Lonely

    Leave it alone

    Left untouched too long, it occasionally meows to hint that it wants some attention.

  • 04

    Sleepy

    Dim the lights

    A photoresistor reads the room; in the dark it closes its eyes and drifts off to sleep.

  • 05

    On / Off

    Press the button

    The power button wipes the screen down to a line and switches it off; press again and it wipes back to life.

Hardware

Under the shell

Eight parts are soldered to a single Arduino Nano and packed into a space built for a cat first and electronics second. A few are worth a closer look: the ones that let nek.io feel a touch, show a face, and answer back, and the small fixes it took to make each of them behave.

Conductive filament

Touch points

The head and paw pads use conductive filament, but the printed surfaces did not carry a steady signal. Before each pad was glued into place, a screw secured a wire to its back, creating a reliable connection to the touch controller.
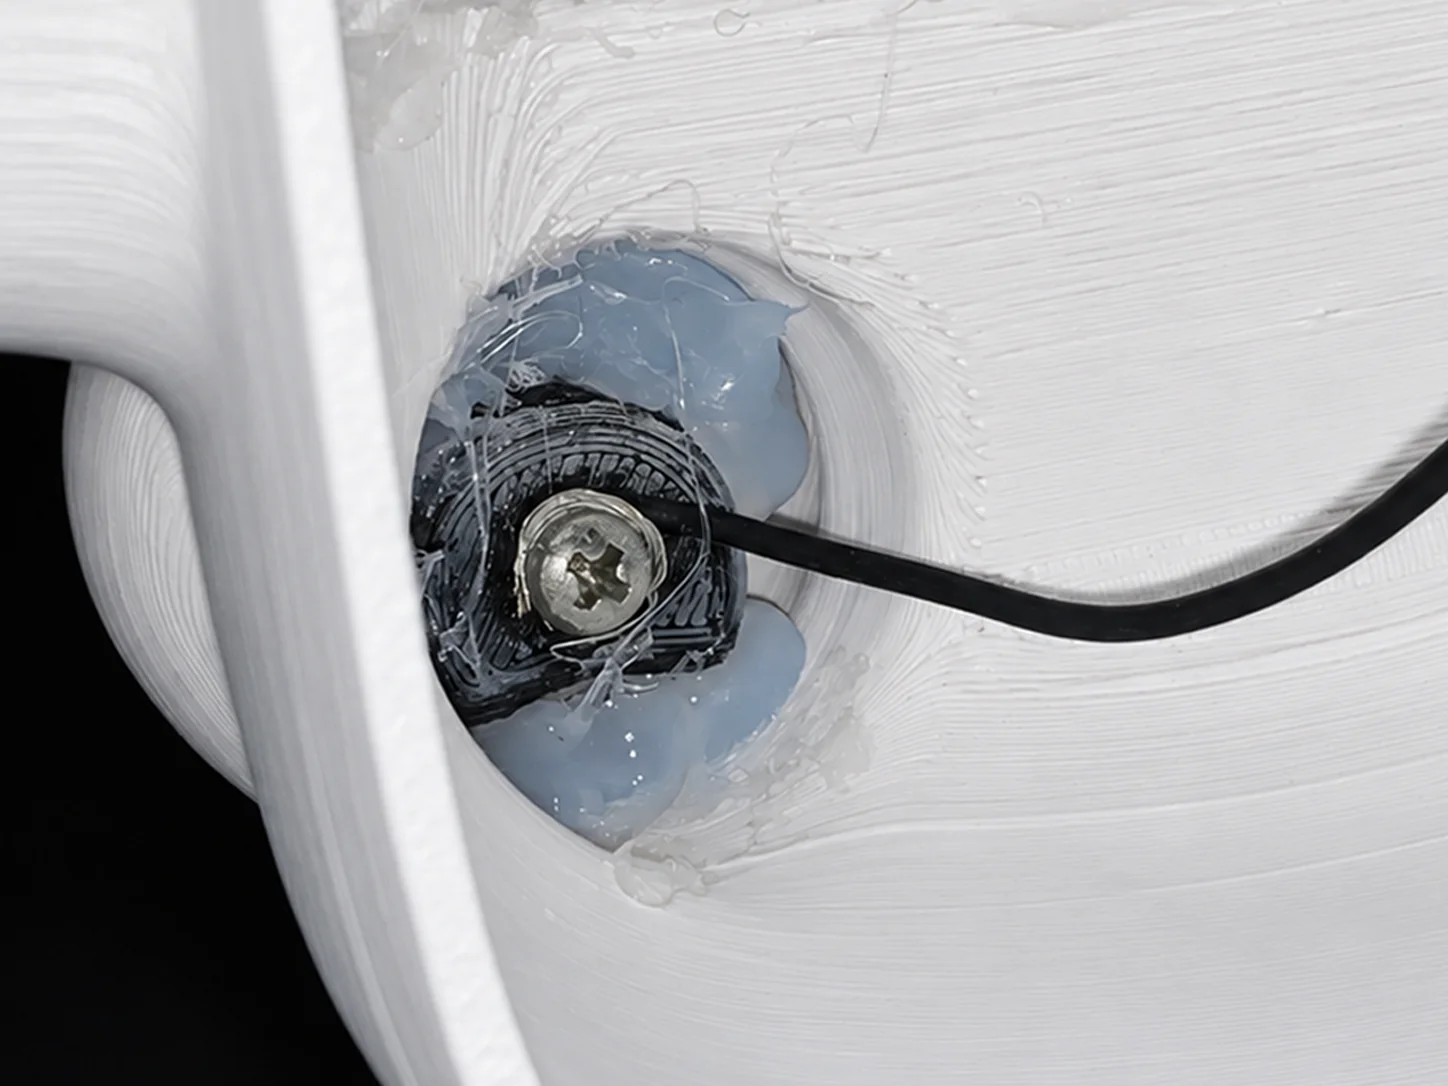
Conductive touch pads and wire connections
OLED display

The face

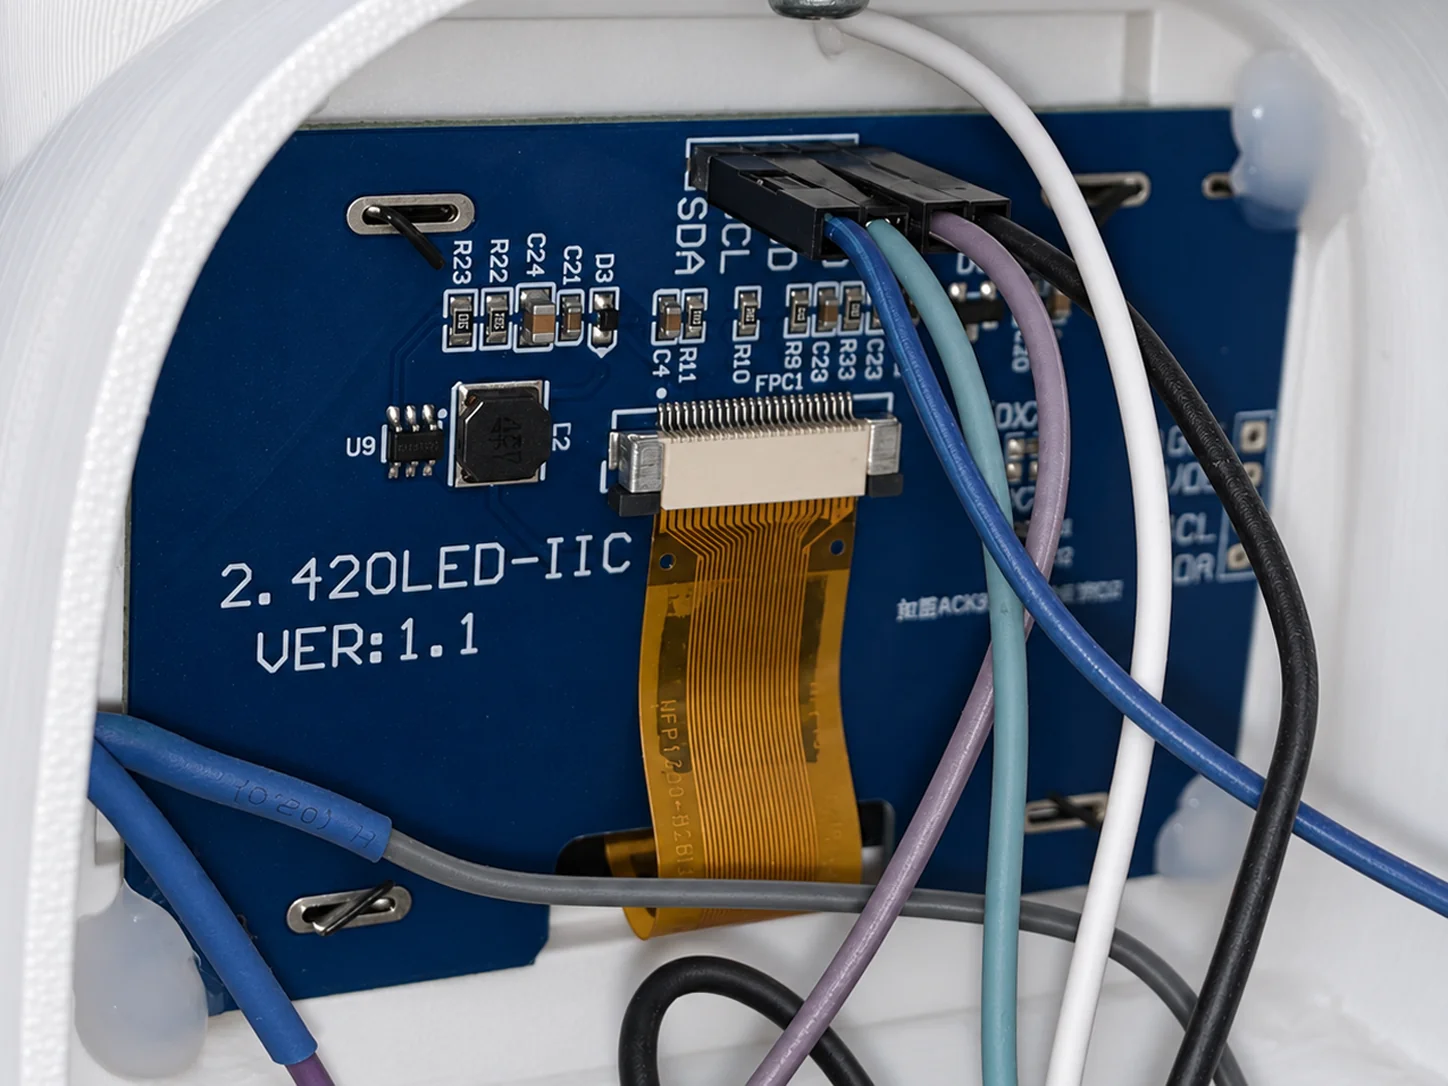
A small I2C OLED behind the window does all the emoting. It draws the eased, RoboEyes-based eyes and the hand-drawn bitmap mouths, so every blink and expression reads as deliberate on a screen barely bigger than a stamp.

OLED display inside the shell
DFPlayer + speaker

The voice

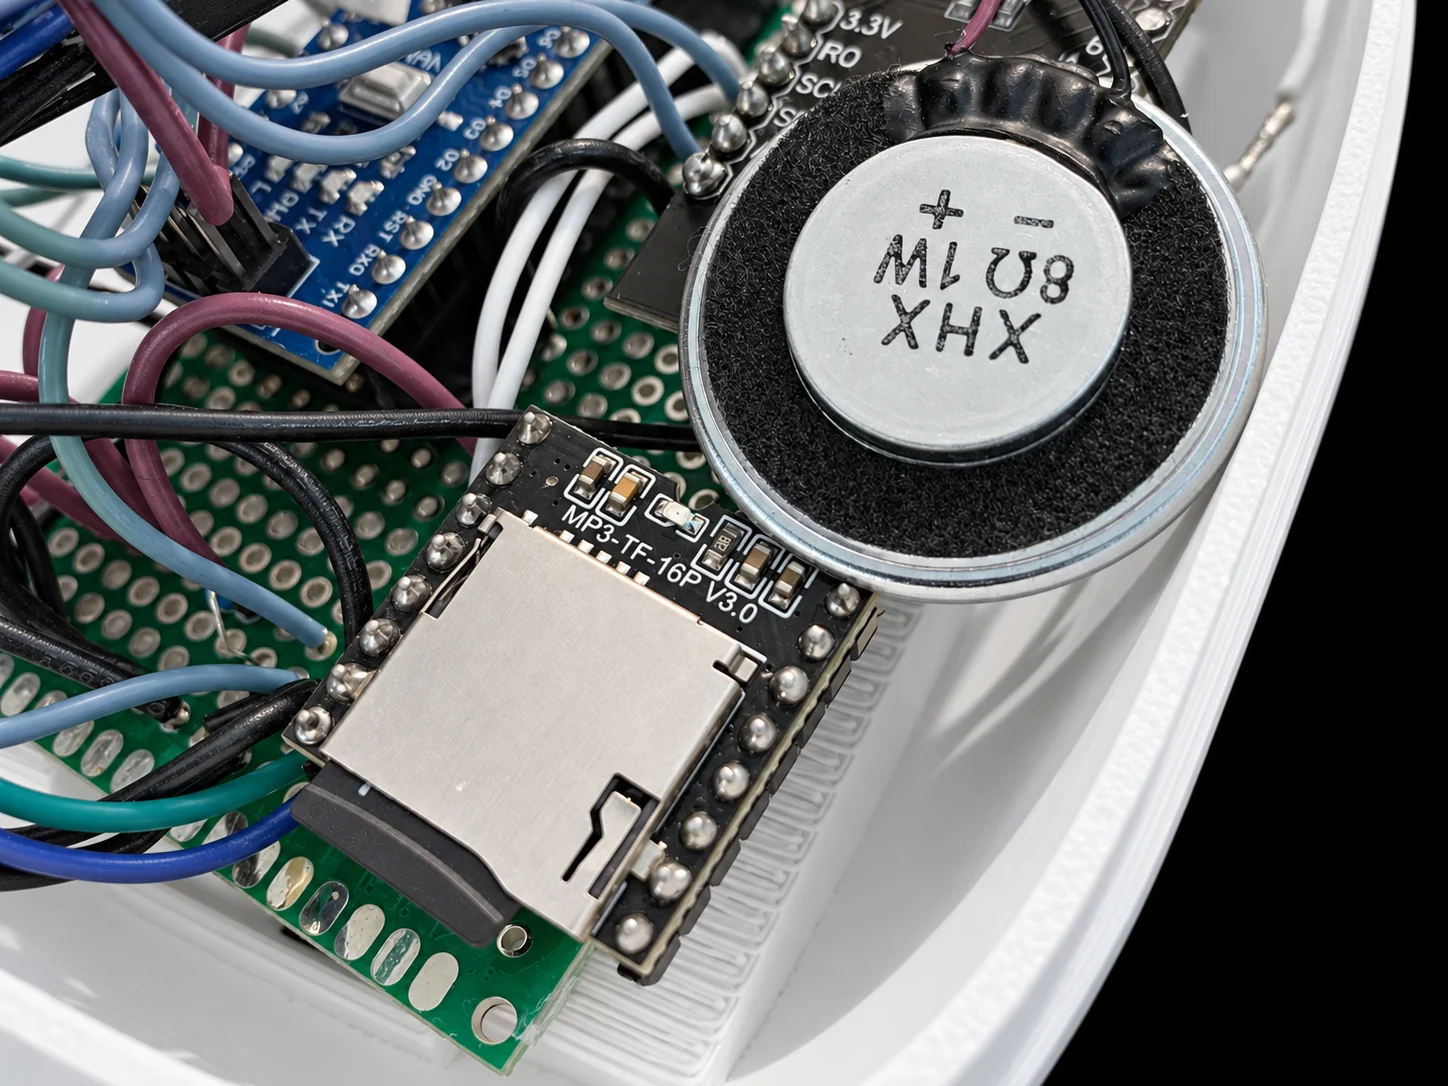
A DFPlayer Mini reads short clips from a microSD card and drives a small speaker, giving each expression a matching purr or meow. It is what turns a moving face into something that feels like it is answering you.

DFPlayer Mini and speaker inside the shell

Wiring

How it all connects

A single Arduino Nano runs everything in one loop, checking three inputs: touch from the MPR121 over I²C, room light from an analog photoresistor, and the power button on D7. These select a state, happy, angry, lonely, sleepy, or off, that drives two outputs. The OLED animates the eyes and mouth over I²C, easing between poses for lifelike motion, while the DFPlayer Mini plays a matching purr or meow through the speaker over serial. A logic level shifter steps the Nano’s 5V I²C down to the touch controller’s 3.3V. Each wire is routed by hand and tucked into the shell around the other components.

Block diagram

An Arduino Nano connects over I2C to an OLED display and, through a level shifter, to an MPR121 capacitive touch controller driving three conductive pads. A photoresistor and a power button wire to the Nano, and a DFPlayer Mini drives the speaker over serial. OLED 128×64 I²C display Photoresistor light sensor Power button on / off Level shifter 5V ↔ 3V3 MPR121 capacitive touch Head Paw Paw Arduino Nano the brain DFPlayer Mini sound Speaker

Pinout

Nano
  • 3.3V→V1
  • A1→Photo
  • A4→HV1
  • A5→HV2
  • 5V→Rail
  • GND→Rail
  • D11→RX
  • D10→TX
  • D7→Button
Level shifter
  • LV1→SDA
  • LV2→SCL
  • HV1→A4
  • HV2→A5
  • GND→Rail
  • V1→3.3V
MPR121
  • 3.3V→Nano
  • SCL→LV2
  • SDA→LV1
  • GND→Rail
DFPlayer
  • 5V→Rail
  • RX→D11
  • TX→D10
  • SPK1→SPK+
  • GND→Rail
  • SPK2→SPK–
Photosensor
  • V+→5V Rail
  • Sig→A1
  • R→GND
Button
  • Leg 1→D7
  • Leg 2→GND Rail
OLED
  • SDA→A4
  • SCL→A5
  • 5V→Rail
  • GND→Rail

Live demo

See it run

This is the finished prototype running, straight off the desk, with no renders and no edits. Every feature the project set out to build is working here at once.

Pet its head and it purrs, press a paw and it pulls an annoyed face, dim the room and it drifts off to sleep. Touch, light sensing, the animated OLED faces, the meows and purrs, and the autonomous idle all run together off a single Arduino Nano.

All eight components sit inside the custom 3D-printed shell, wired by hand and fixed to the interior walls. The finished build brings the digital concept into a working physical companion.

Build notes

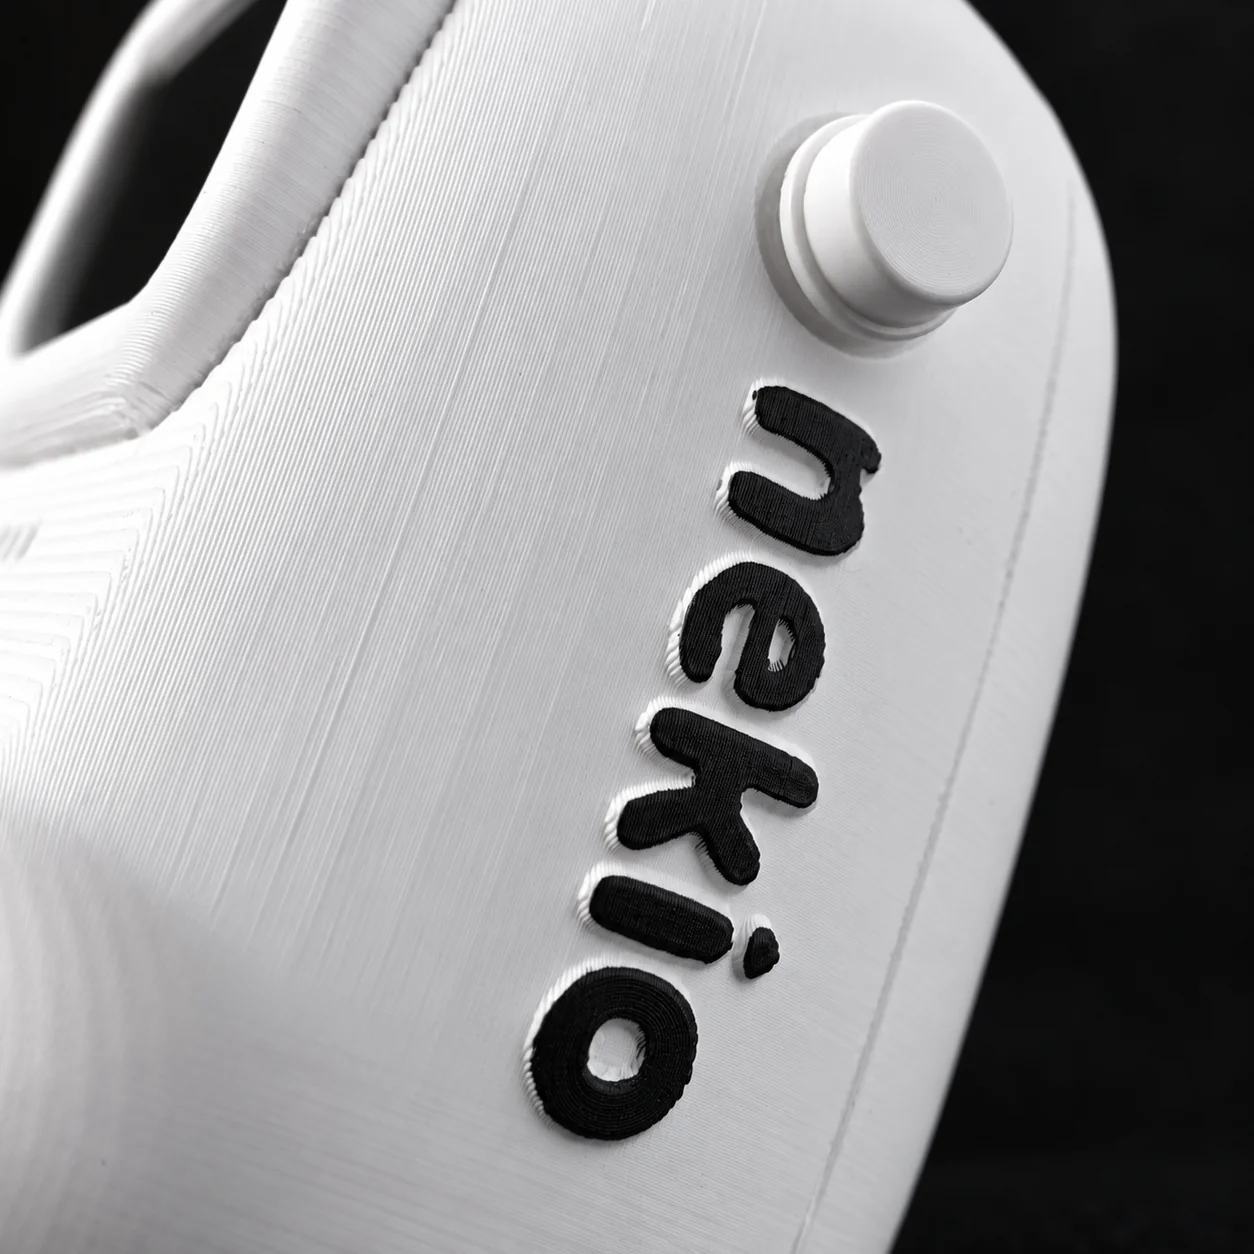
  • A custom push button replaced the one in the original render, and the snap-fit enclosure clicks together to hold the whole shell with no screws.
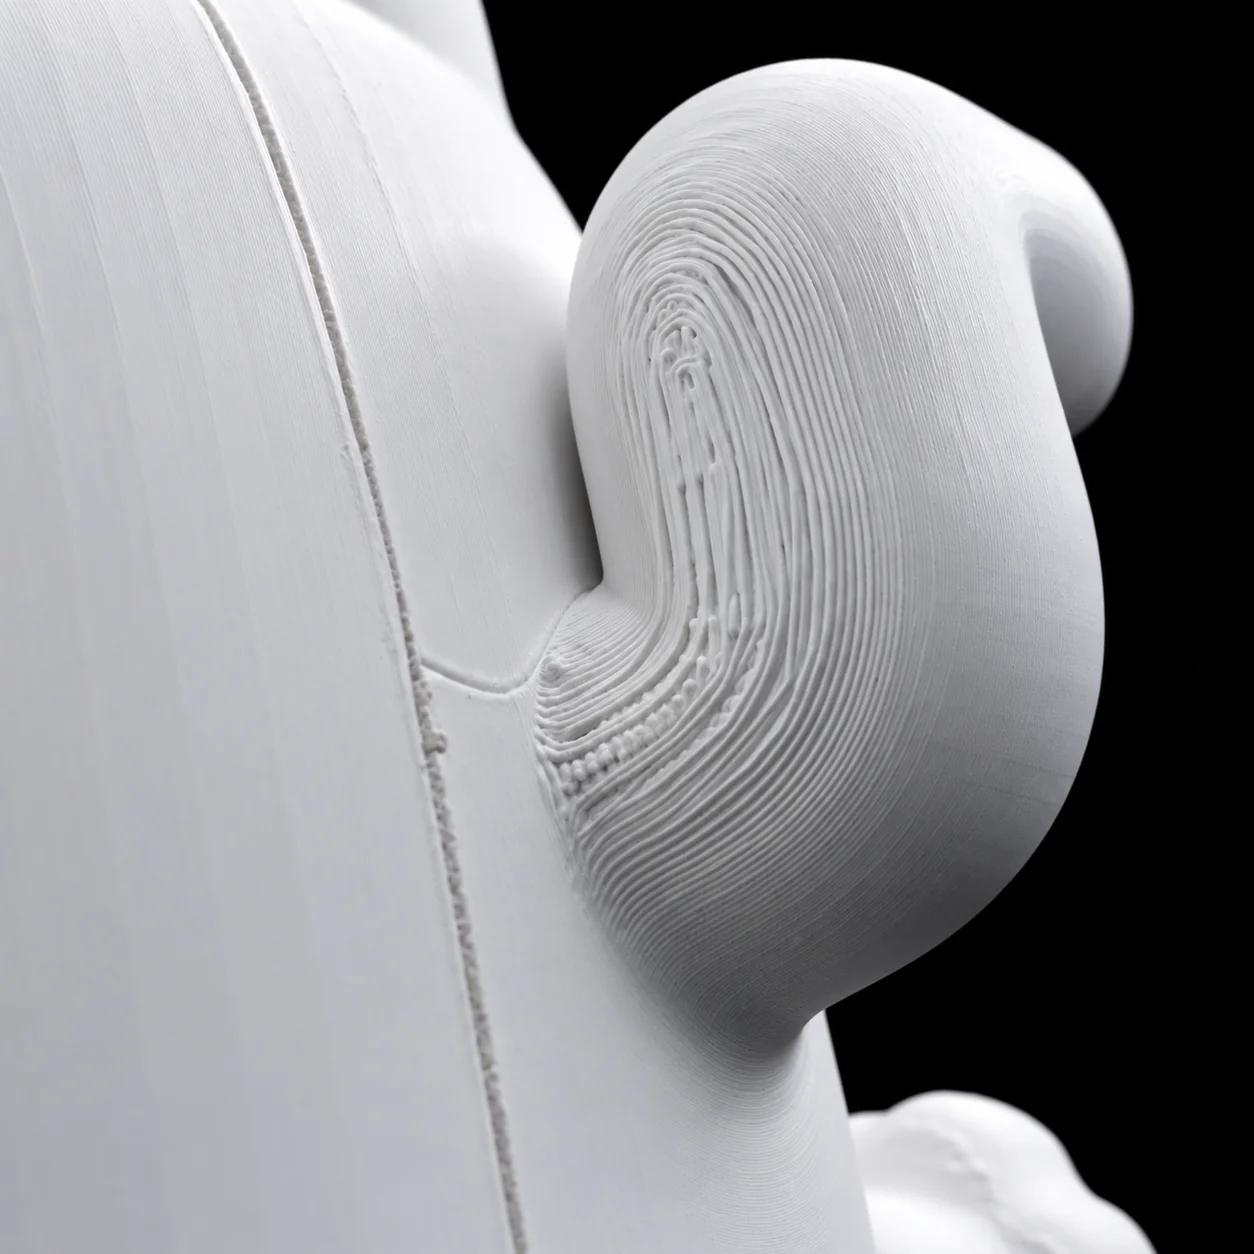
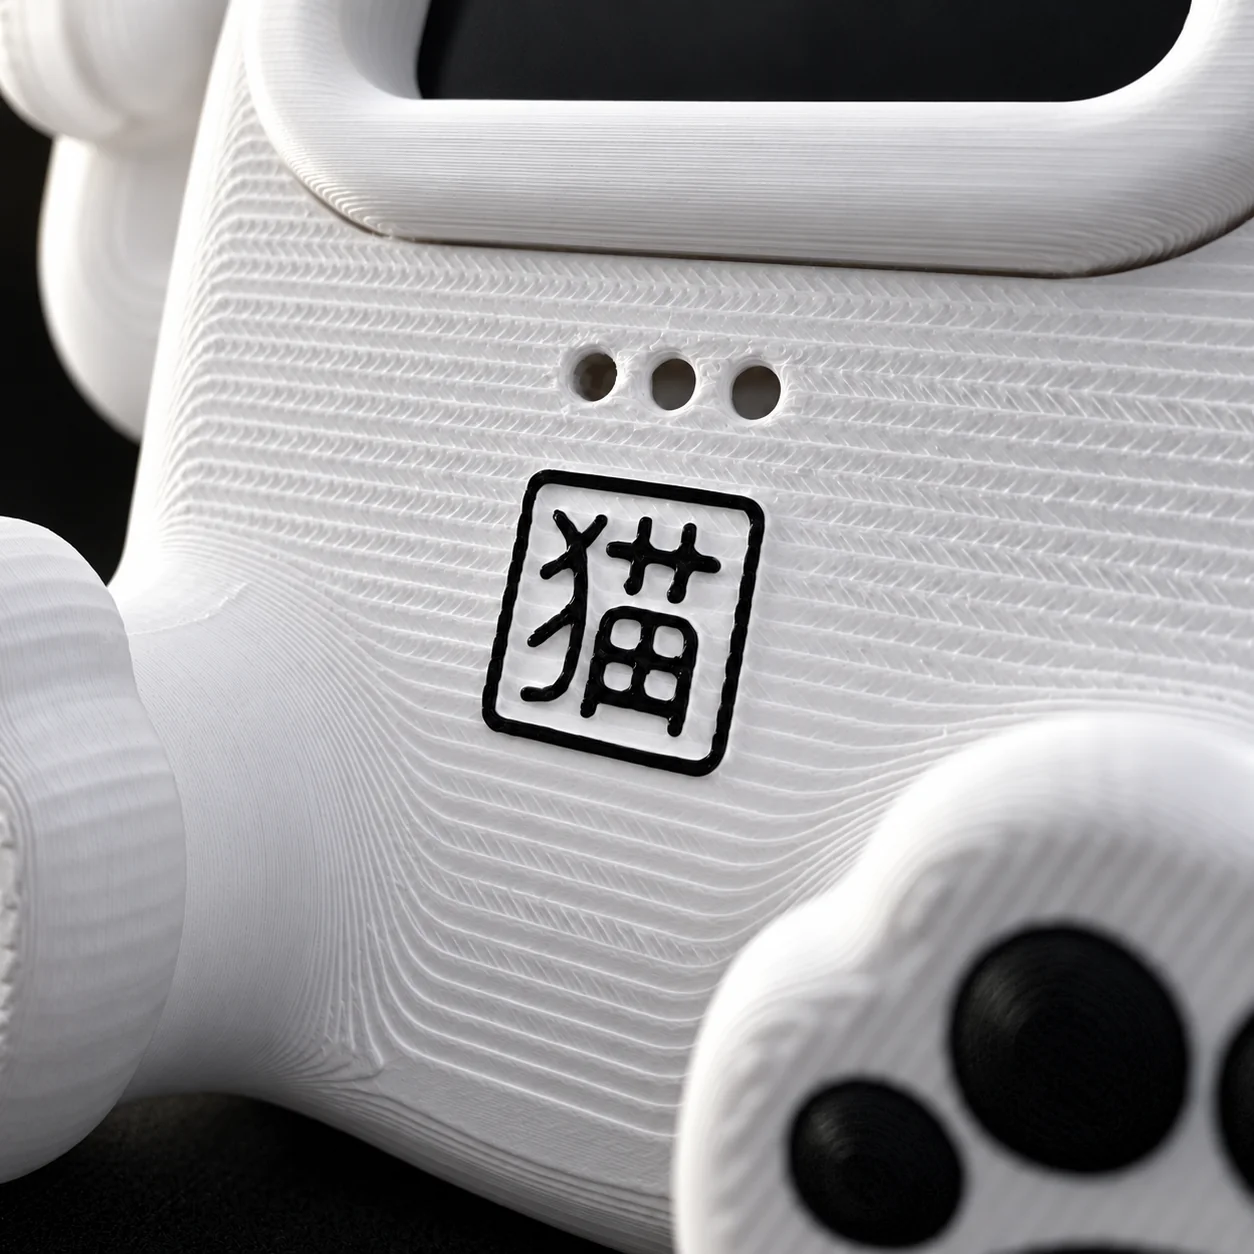
  • The raised 猫 logos were inked by hand and the fine print lines were kept in, giving the finished shell a crafted texture unique to this one build.
Close-up of nek.io’s screen
Close-up of nek.io’s power button
Close-up of nek.io’s raised logo

Reflection

Living with nek.io

Once it is on your desk, the point of nek.io becomes clear: it asks for almost nothing. A glance, an occasional touch, or a meow when the room has been quiet too long makes up the relationship. It was also my first electronics project, and much of what I learned came from things going wrong. Unresponsive components, flickering displays, and cracked solder joints each taught me something beyond the brief.

What surprised me most was how closely the finished build matched my original render. The proportions, pose, and character carried from the screen into a companion that sits on a desk and responds to touch. A few compromises were tucked inside the shell, but from the outside, it is the companion I imagined.